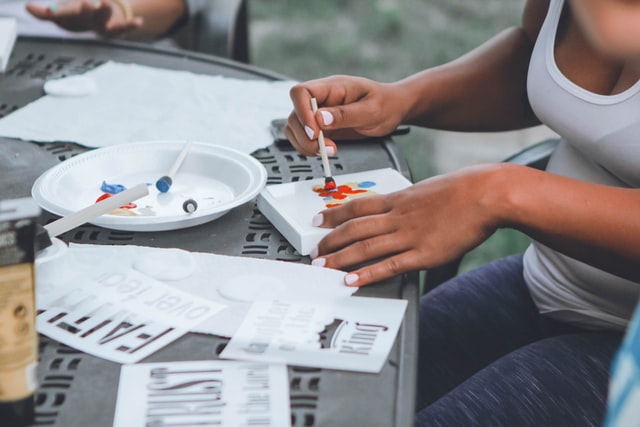
We’re all feeling the effects of staying at home, sheltering in place and getting our quarantine on, and it can definitely take its toll on our mental health! Whether you’re living solo, in a duo, or sharing space with a whole house filled with people, it’s important to give yourself an opportunity to disconnect from the exterior stressors, and invest a bit in your creative, colorful side. Not only is artistic expression proven to reduce stress and help calm us down, it also encourages the production of happy emotions. Win-win!
With just a little time and effort, you can have some Instagram- or Pinterest-worthy projects of your own to post! Read on to get your creative juices flowing:
#1 The Project: Wooden Picture Display Frame
Materials Needed:
A Flat Piece of Wood
1-3 Clothespins
Hot Glue Gun or Wood Glue
Paint or Stain & Brushes (optional)
Stencils (optional)
Other Decorative Items (shapes, toys, memorabilia, etc)
Project Overview:
Normally a picture frame has a glass panel customized for the size of the backdrop, as well as a stand. This frame eliminates both of these but still effortlessly and creatively displays photos. Plus, you can rotate photos at your convenience since they are clipped in by the clothespins.
Ready, Set, Craft! How To Make It: Start with finding your flat piece of wood, and consider looking at leftover pieces from other projects when sourcing your materials. Rough dimensions are ¾” thick x 12″ wide x 8″ tall, but you can easily play around with this. You can keep this rugged and untreated, or you could sand the whole piece and apply a stain or painted foundation. It’s entirely up to you!
Use your desired glue to glue the clothespins to the wood strategically, as you see fit. If you have a couple of photos in mind that you’d like to display, try laying them out on the wood prior to gluing on the pins. Be sure to save space for any of the added decorations you are planning on using.
Use stencils and paints to add letters to your project. Some ideas for words could be Friends, Family or Love. This is your chance to really wrap up the project with your own special touches! Finally, simply clip the photos up in the clothespins, and display the piece in your house by resting it up against the wall on your mantel, dresser, or kitchen/bathroom counter.
#2 Mason Jar Candle Holders
Materials Needed:
Mason Jars of Any Size
Paint & Brushes
Candles
Paint Effects or Sealants (optional)
Project Overview:
This might be very basic, but the results are functional AND cool. You are using glass jars to make candle holders and create some lovely ambient light – inside or out.
Ready, Set, Craft! How To Make It:
If you’re using recycled mason jars from your grocery store purchases, be sure to scrub the label and glue completely off with plenty of hot water and soap. Otherwise, this is a really simple process!
Essentially, we are painting the exterior of the mason jar and then setting a votive or small taper candle inside to burn. The color and finish determine the glow and ambience of the burning candle. You can paint each jar a solid color, or get funky and go freestyle! They could be standalone features, or you could create a set to line the walkway for example.
A few elements you might not have at home are various paint effects. It’s fun to play around with frosted paints, metallic paints and glossy sealants, so this might require a trip to the shop depending on your customization.
#3 Mason Jar Lid Coasters
Materials Needed:
The Leftover Lids From Project #2
Paint & Brushes
Project Overview:
You’ve used the jar for a new candle holder, now what to do with the lid? Don’t put those paints away quite yet, because they are completely repurpose-able as coasters. The top of the lid is face down on the table, and the drink gets nestled inside.
Ready, Set, Craft! How To Make It:
Wash and dry the kids, and then paint them in two stages. Paint the top and outer sides of the kids, and lay them out to dry until they are no longer tacky. You don’t want fingerprints or smudges!
When painting the inside of the lid, i.e. the part you will see when it is set on the table, get creative! Use light, bright colors so you can see where to set your glass, and consider writing a catchy quote or drawing a little sketchy there with a colorful (or black) permanent marker.
#4 The Project: Painted Wine Bottle Vase
Materials Needed:
Wine Bottles
Paint & Brushes
Sealant (optional)
Project Overview:
Wine bottles are easy enough to recycle, but they can be really fun to craft up on the exterior. The finished products are perfect to fill with water and place a single flower in for a light, whimsical effect. Think gerber daisy or a long stemmed rose. Simply lovely!
Ready, Set, Craft! How To Make It:
Begin by scrubbing the label off, and bear in mind you may need to soak it first. Once it is thoroughly dry, paint the bottom and let it dry on its side.
Now do a little brainstorm in design. If you have an artistic hand, let yourself go and paint whatever you fancy. If you need a little guidance, consider polka dots! An easy yet stylish option, and all you need to do is pick a fun color combo. Paint the entire bottle exterior in one hue, and then add your dots in a complementary color. Spray the exterior with a glossy sealant if you have it.
Wrapping Up
We hope you will find a few hits for your remaining days in quarantine. Remember, there is always a lot more inspiration on Instagram and Pinterest if you get the artsy bug. Happy crafting


